Running Coolify on My Headless M4 Mac Mini Server
About a week ago, I set up Docker and Colima on my M4 Mac Mini to create a headless server for my dev work. If you haven't read that yet, go check it out here!
Once I had Docker running cleanly, I figured I wanted something nicer than manually managing my Docker Compose files. It'd also be neat to have automated deployments using Git whenever changes were made to my repositories.
The solution I came up with? Self-hosting Coolify - an open-source, self-hostable PaaS alternative which will make deployments and proxy handling so much easier. So today, I'll be attempting to install Coolify on my Mac mini using Colima!
Colima Setup & Installing Coolify
First, I'll need to make some changes to my previous Colima configuration:
colima start \
  -t vz \                         # use the macOS Virtualization.Framework as the VM type
  -c 10 \                         # allocate 10 CPU cores to the VM
  -m 16 \                         # allocate 16 GB of memory to the VM
  -d 128 \                        # set the VM's disk size to 128 GB
  -V /Volumes/primary:/data:w \   # mount external volume to /data in the VM (Coolify uses /data/coolify as its storage location)
  --root-disk 32 \                # set the root filesystem disk size to 32 GB (Coolify seems to struggle without this)
  --ssh-port 2222 \               # expose SSH access on port 2222 (used by Coolify for server management)
  --mount-type virtiofs \         # use virtiofs as the filesystem mount protocol (it's faster than sshfs!)
  --network-address \             # assign a reachable IP address to the VM (only internally - router will see Mac)
  --save-config                   # save settings as the default
In this setup, we're mounting our external volume to/datainternally because Coolify uses/data/coolifyas its default storage location, allowing us to store our Coolify data on our external drive.
Optionally, we could also point Docker's data root at our /data mount by modifying Colima's persistent config. This will cause all of our images, containers, and volumes to be written to our external drive instead of disappearing in the event Colima gets wiped (better safe than sorry)!
colima stop && colima start --editThen, we can replace the docker definition in the config to the following:
docker:
	data-root: /data/docker
Done! Now we can enter the Colima runtime using colima ssh and install Coolify (as per the instructions here):
sudo apt update && sudo apt upgrade -y                             # refresh and update packages
sudo apt install nano -y                                           # install a text editor
nano /etc/ssh/sshd_config                                          # open the SSH daemon config file to edit

# Uncomment `PubkeyAuthentication yes` and `PermitRootLogin prohibit-password`
# Save with (Ctrl + X), (Y), (Enter).

sudo systemctl restart ssh                                         # restart the SSH service to apply changes
curl -fsSL https://cdn.coollabs.io/coolify/install.sh | sudo bash  # install Coolify!
Finally, we can now visit http://[macs-local-ip]:8000 and setup Coolify!
When choosing the Server Type, select This Machine and update the default SSH port to 2222, as we configured earlier.
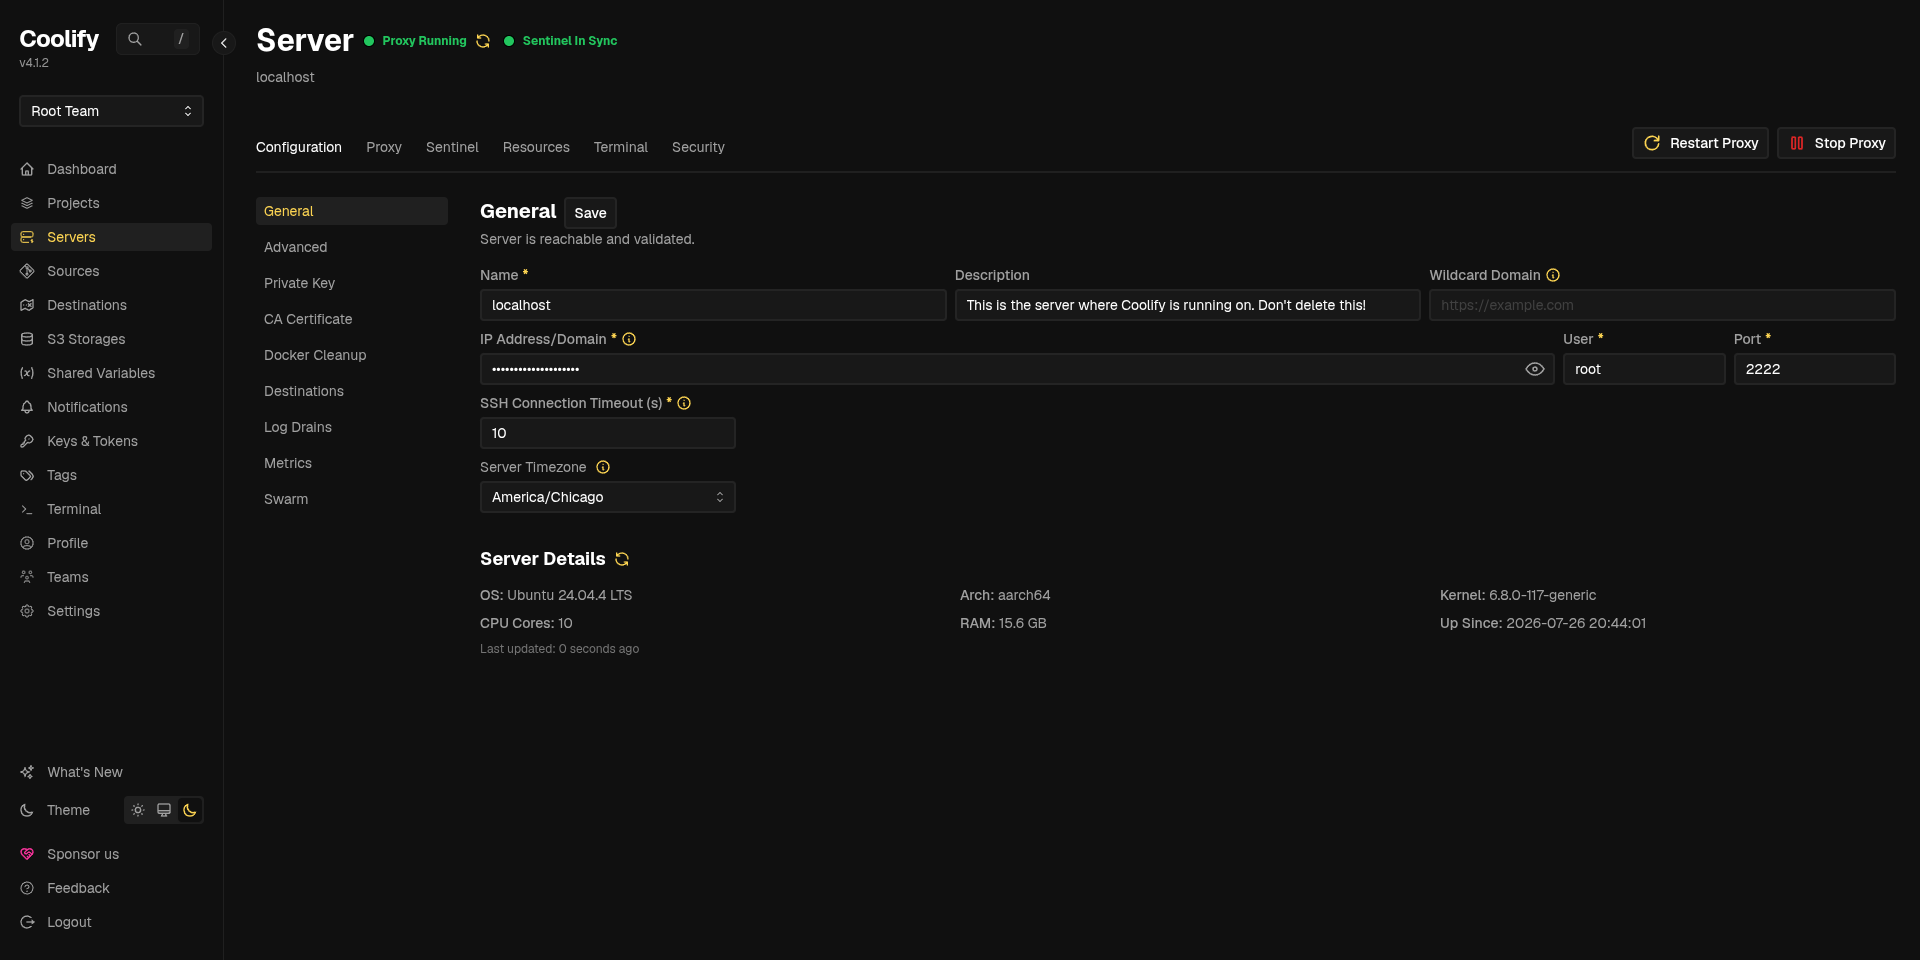
It's alive!